Sending a message to an entire organization, division, group, or even individual employees can sound like a daunting task. TeamSense makes it easy through Communicate, check out the article below to see how you can create and send messages within TeamSense!
Create a Communicate Message
In Communicate, we have two different ways to send a message. You can create a basic message that is sent immediately, and you also have the ability to schedule a message to be sent at a later time. We are going to cover both of these types of messages below.
Creating a Communicate Message
Creating a communicate message is simple, just follow the steps below to send your first message in TeamSense!
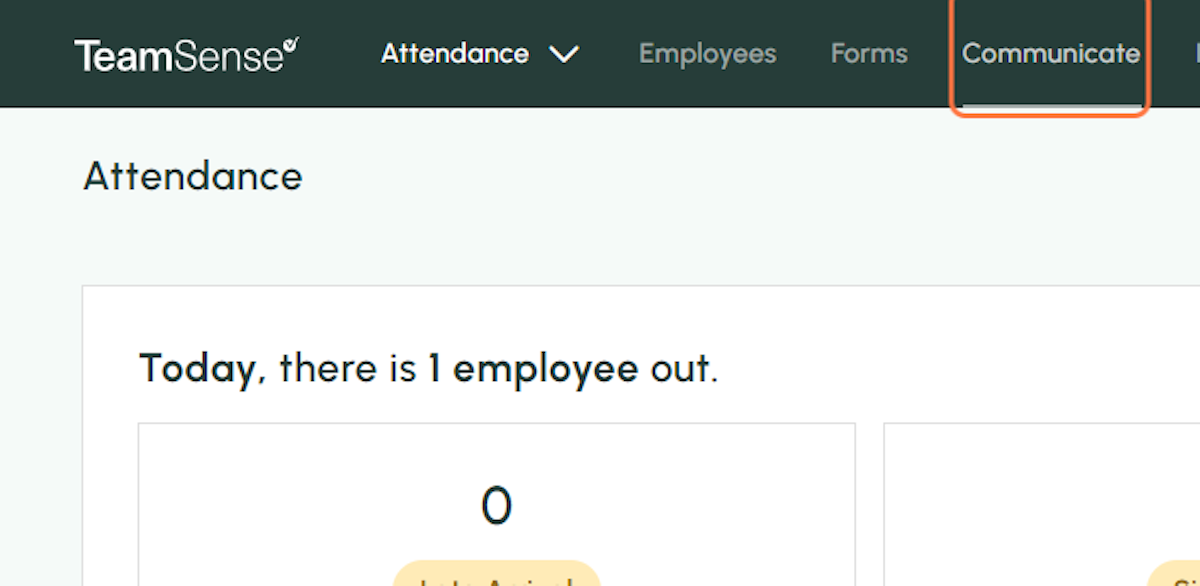
1. Navigate to the Communicate tab
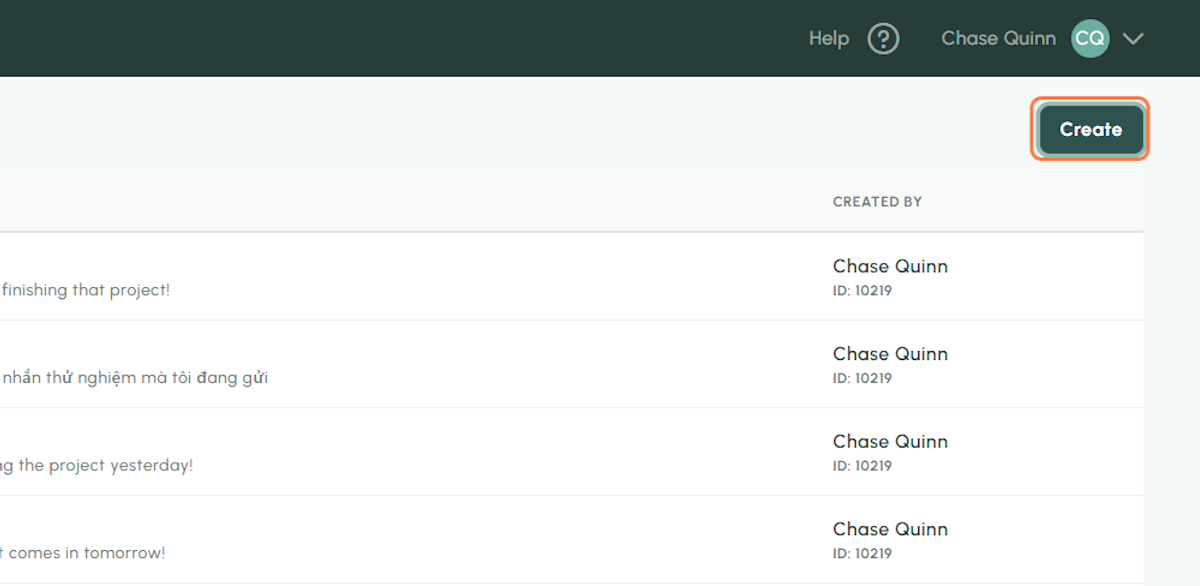
2. Click on Create in the upper-right
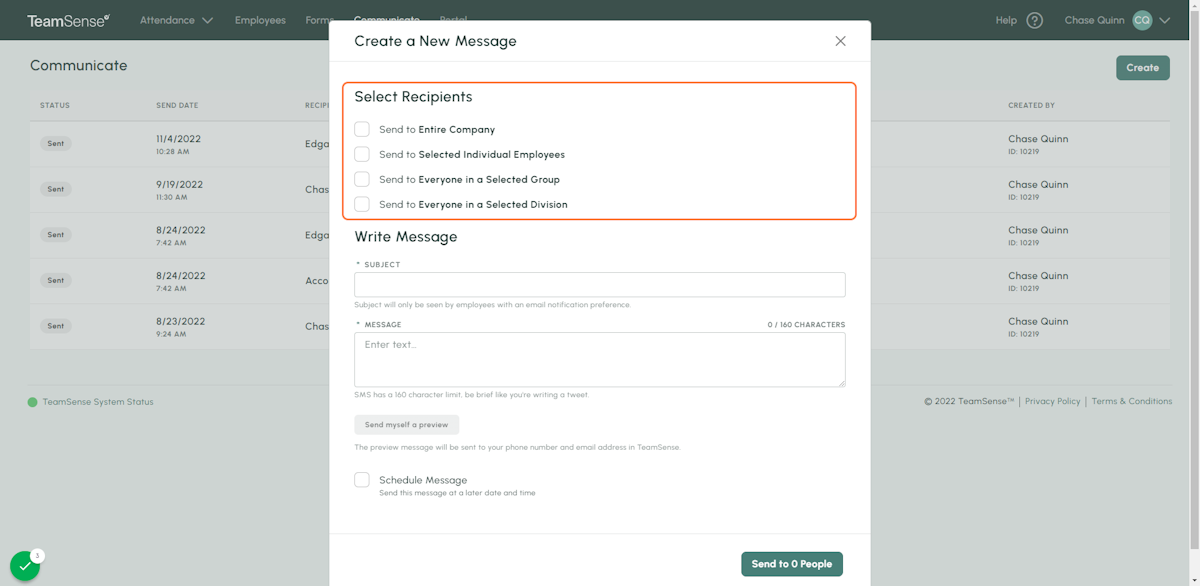
3. Select your recipients
In this section, you can select who you want the message to go to. You can send the message to the entire company, an entire division, a certain group (or groups!), and even certain individual employees. As you check the boxes, a new prompt will open for you to enter the relevant information.
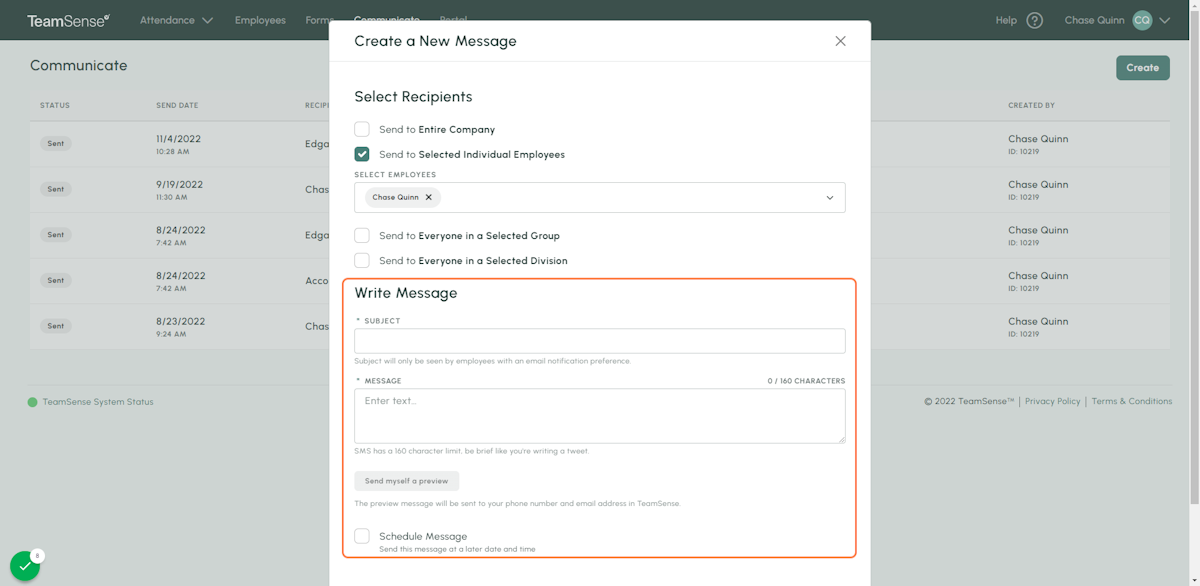
4. Create your Communicate message
To ensure that you get the most out of Communicate, it is best to understand how this section works:
- The subject line that you fill out will only be seen by employees who use Email as a notification preference. It will appear as the subject of the email that is sent.
- The message box will contain the message that is sent to both email and text recipients.
A few things to note here that can help you with best-practices:
- SMS messages can only contain 160 characters (that is restricted by the SMS protocol, which is what phones use to send and receive text messages). You can see there is a counter in the box to let you know when you go over the 160 characters.
- Try to steer clear of sending links, phone carriers can see this as spam. If you do need to send a link, don't use a link shortener (such as Bitly, TinyURL, etc.).
- For best practice, the link can go into the TeamSense Portal and the message can point the employees to which link they need to use.
- If you need to send translated messages, that is not a problem! Just paste the translation into the message box and it will send exactly as it is to your employees.
- You can find more detailed advice here: Optimizing Text Delivery for Communicate Messages
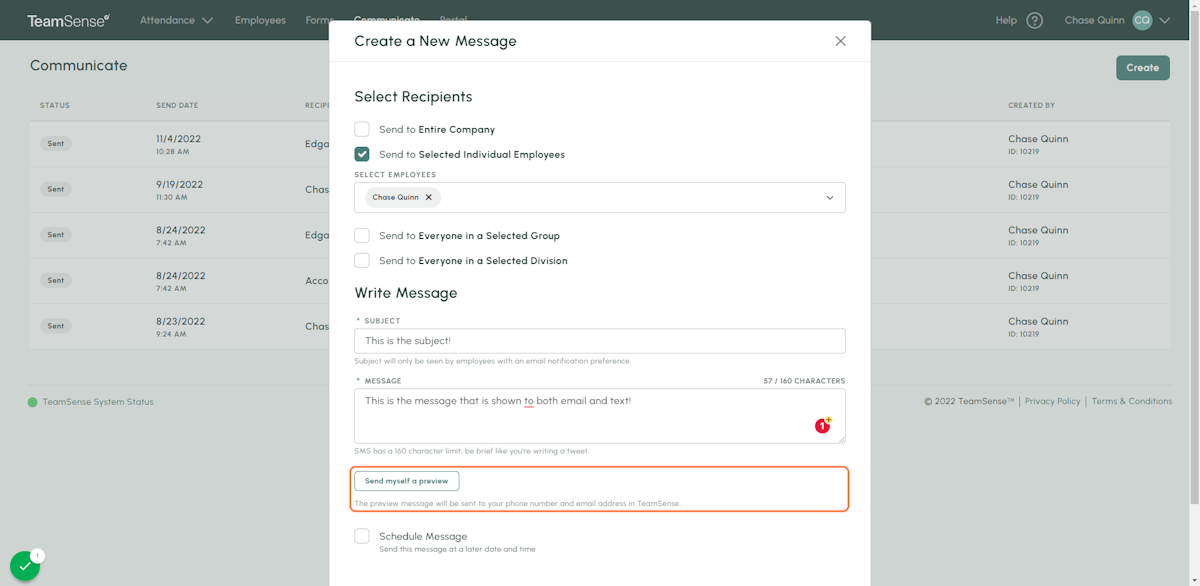
5. You can preview the message
This section gives you the ability to send the message to yourself as a preview, so you can see the message for yourself before it is sent.
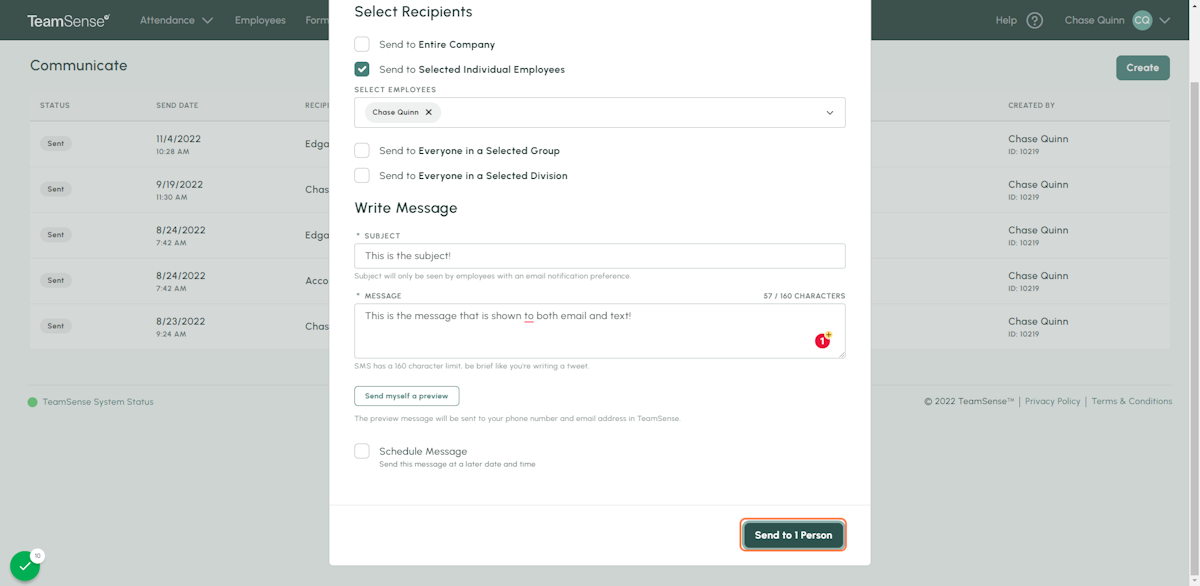
6. Click Send to finish
Once Send is clicked, you will no longer be able to edit the message as it is sent immediately to the ph
Scheduling a Message
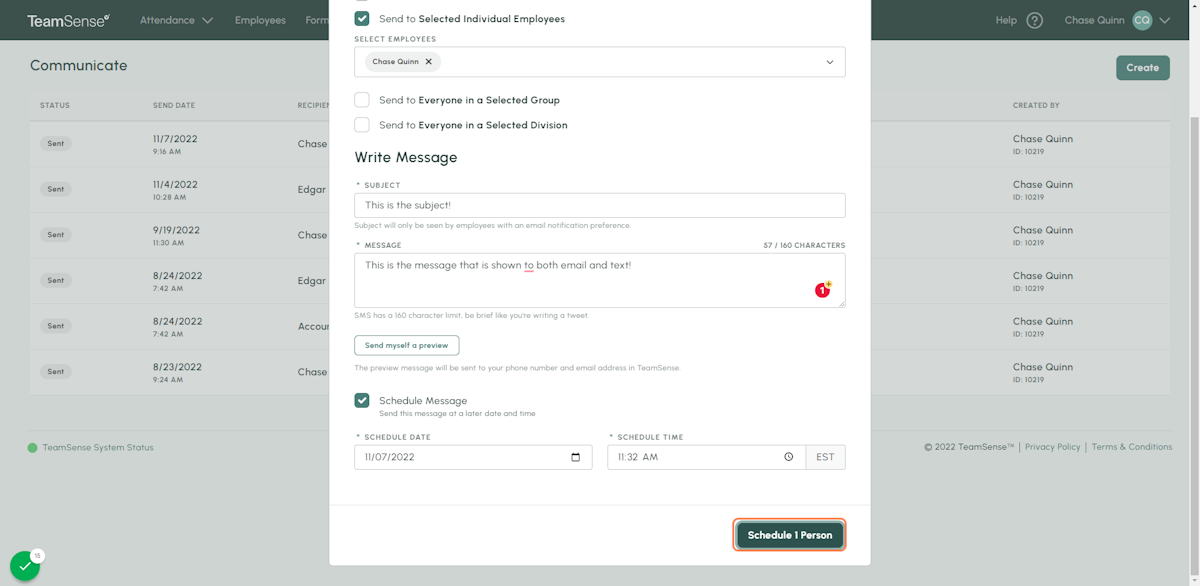
Scheduling a message can be done by using the exact steps above, this time utilizing the "Schedule Message" checkbox.
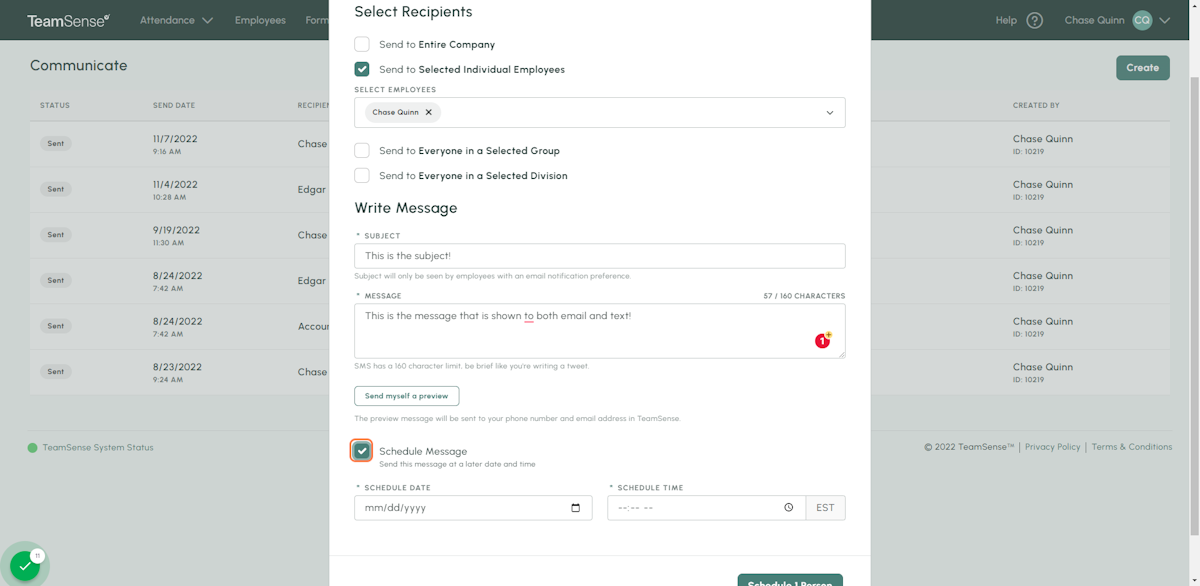
1. Check the Schedule Message box
Once you fill out your Communicate message, to schedule the message start with checking the highlighted box.
2. Choose your time and date
These options will appear after you have checked the Schedule Message box.
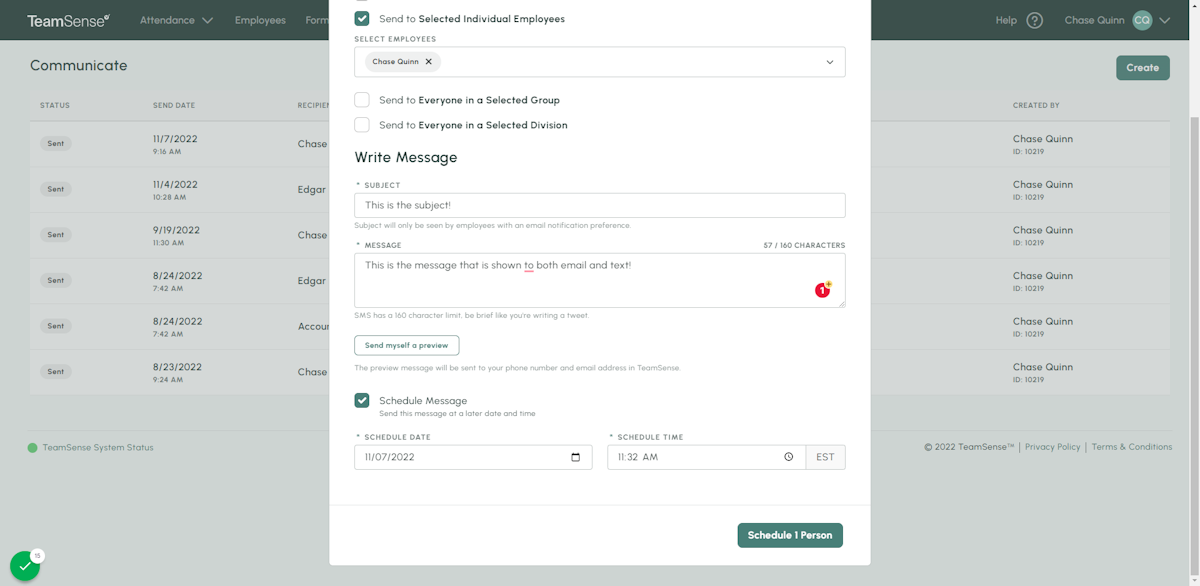
3. Click on Schedule to finish
Can I Edit/Delete a Communicate Message?
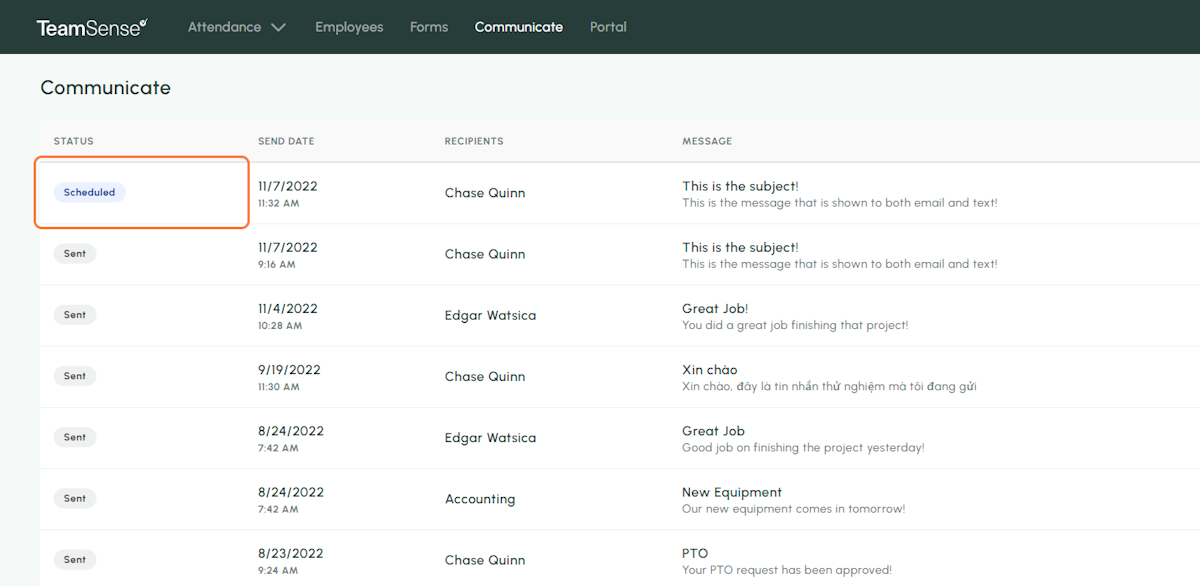
While you can't edit or delete a message that was already sent, you are able to edit and delete a scheduled Communicate message.
Editing a Scheduled Message
1. Choose the scheduled message
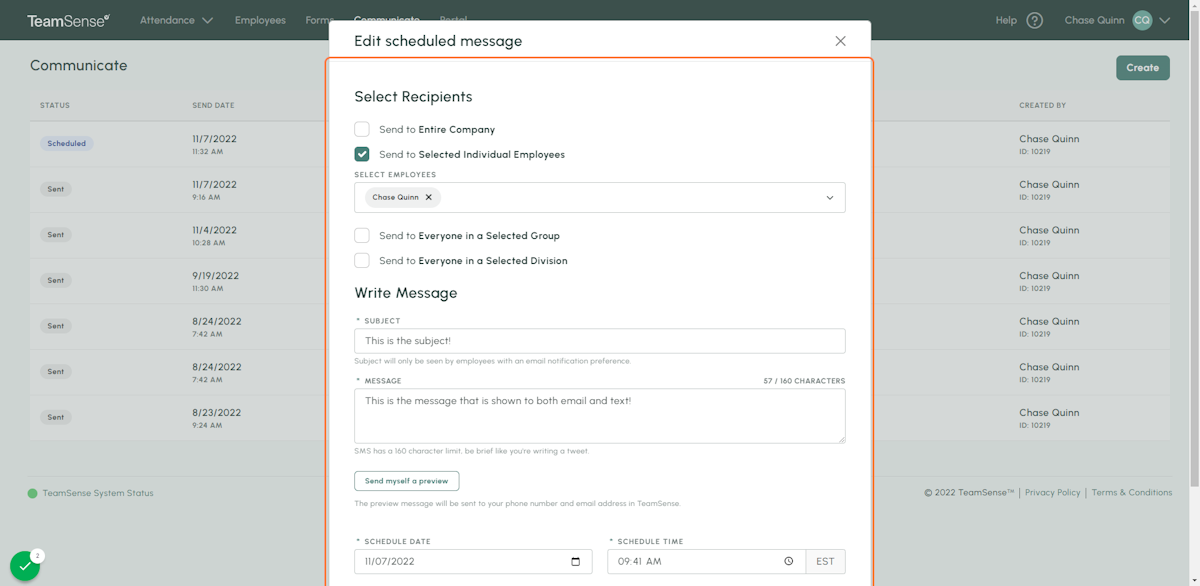
2. Make the necessary changes
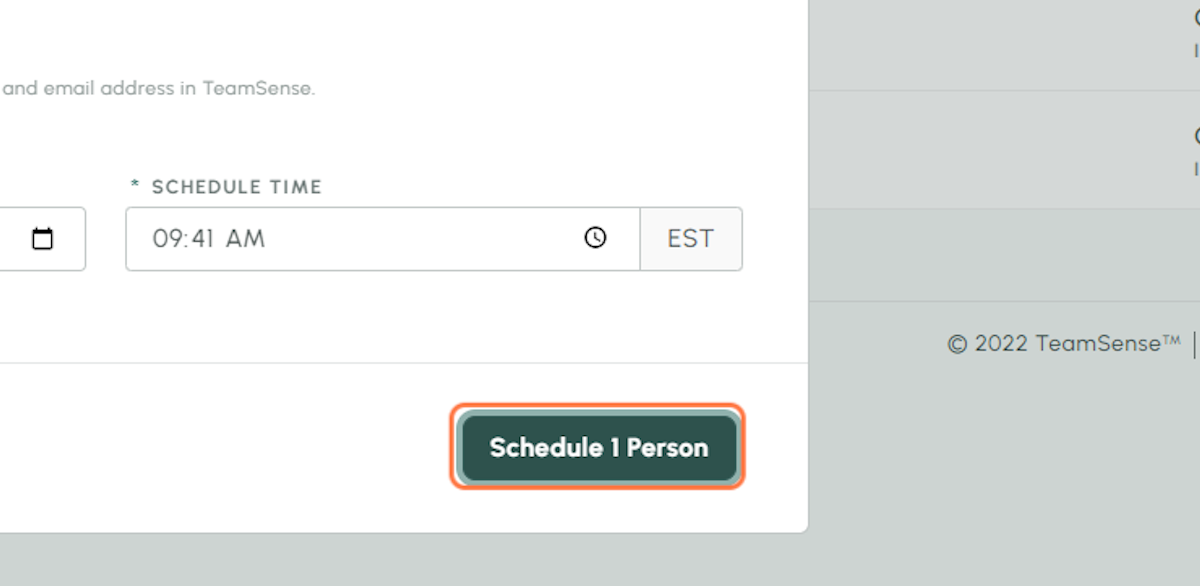
3. Click on Schedule to finish editing
Deleting a Scheduled Message
1. Choose the scheduled message
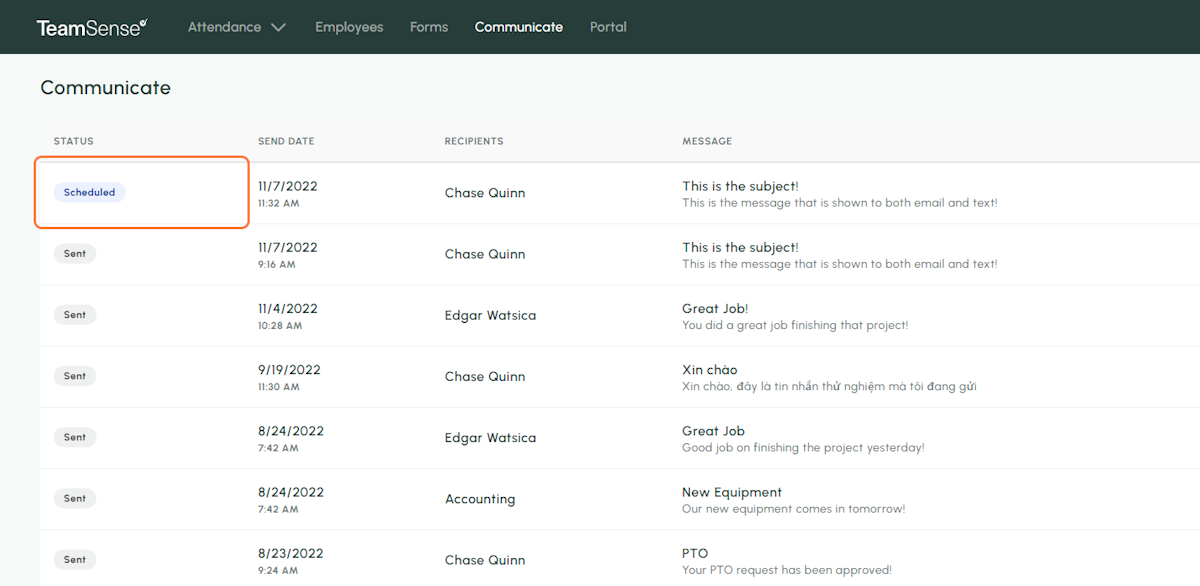
2. Click on Discard at the bottom-left
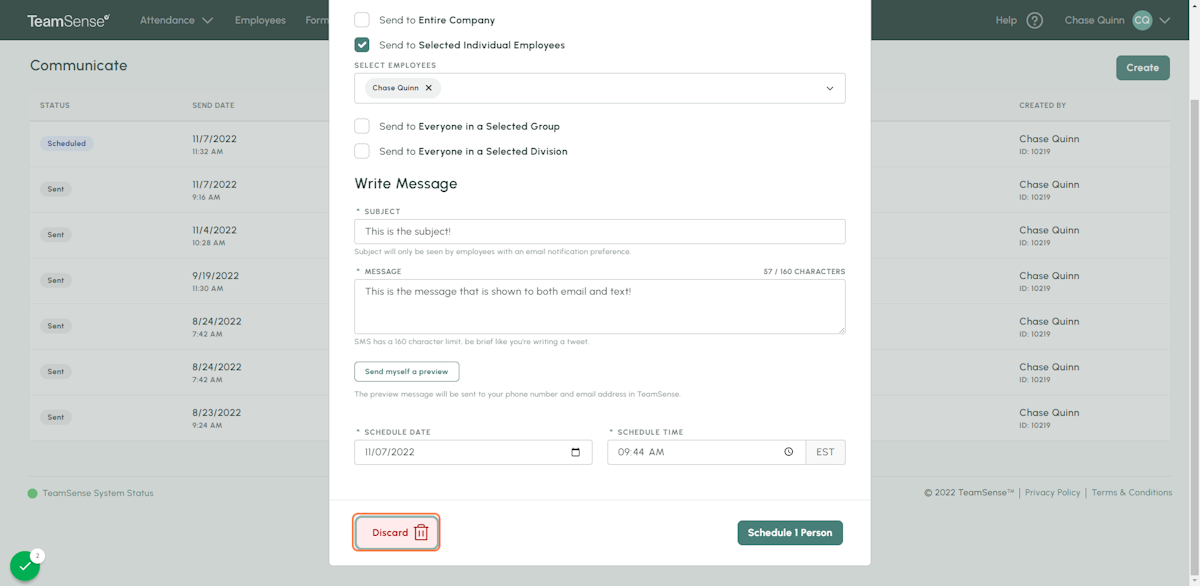
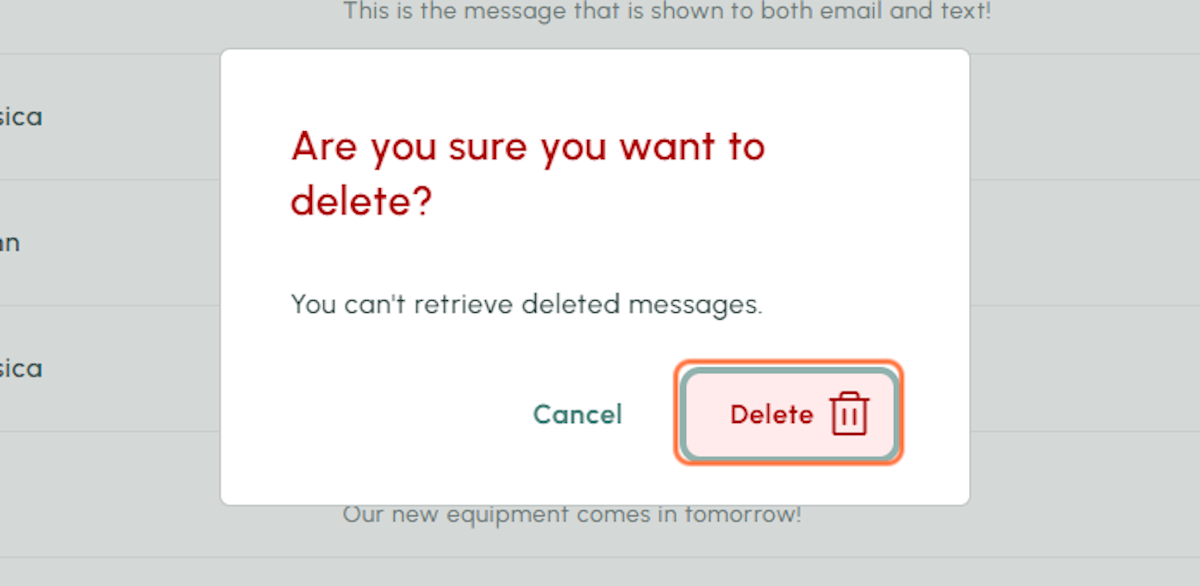
3. Click on Delete to finish
💡
Tip: If you have any questions that were not answered here about creating a Communicate message, reach out to us at Support@TeamSense.com!
